Showing posts with label skirts. Show all posts
Friday, June 1, 2012
Made It (by the skin of my teeth) in May
I desperately wanted to get a second skirt finished for the Make It In May challenge, so of course, I procrastinated and left it literally 'til the last minute (I finished the bottom hem at around 7PM lastnight).
The pattern had been sitting on the kitchen bench for over two weeks just waiting to be traced and cut!
This is the Lisette Market Skirt (Simplicity 2211) in View A.
I found this black corduroy (which is really hard to photograph) in the stash. I'm pretty sure it was op shopped a while back.
There was only just enough for the skirt.
I made a couple of small changes - I omitted the tabs that sit along the waistline, and I added pockets instead. I figured that I didn't need to add both details as I wanted the skirt to be quite plain.
Those cute pleats at the front are mirrored at the back, and there's a side zip.
This skirt was really easy to make and would be cute for summer in a nice quilting weight fabric too!
This one's a keeper.
Sign Up Post
Flickr Group
Filed as:
lisette patterns,
Make It In May,
market skirt,
may skirt sew-along,
skirts
Monday, March 26, 2012
On a Wing and a Prayer
I'm kicking myself for forgetting the before photo on this project.
Can you guess what it was originally?
Here's a clue... a leftover wing (metaphorically speaking).
Carly found this very pretty 'what was formerly know as a floral shirt' at a secondhand shop and asked if I could transform it into a skirt.
Always up for a challenge, I took it on.
My original intention was to use Nikki's A-Line Skirt Pattern, but there wasn't enough fabric in the shirt, so I just went freestyle (that's where the prayer came in), based on Carly's measurements.
She wanted little heart shaped pockets, which have actually worked quite well. They're stitched up to the top side of each heart, and are quite functional.
The final step was to add a lining..... and voila - one finished Wing and a Prayer Shirt Skirt!
Wednesday, March 7, 2012
Two-Way
I had to run some errands yesterday, so I took the opportunity to quickly pop in to Vinnies to see what was on offer.... where I spotted this gem.
I know that it's a Nana skirt that's totally and utterly unfashionable in its current state, but there were pangs of nostalgia when I saw the label, and there's only one word for the 100% Australian Lightweight Wool Fabric - DIVINE.
Sadly I think we all know what happened to Fletcher Jones...
But, back to the skirt, and the ingenuity of the design.
It's fully reversible, so you can have a grey skirt one day....
...and a red one the next (and you should probably iron it before wearing).
I've saved my favourite part for last. Underneath each pleat, the fabric has been woven to reveal the other colour.
Now I just need to work out whether I can re-fashion it into something that's wearable and maybe even fashionable?
Monday, March 5, 2012
Tutorial - Little Girls Skirt
Fabric - Go Granny II 100% Cotton
Download the PDF You will need:
Fabric
Thread
Sewing Machine
Overlocker (optional)
Wide Elastic
Safety Pin (for threading the elastic)
Step 1. Determine the Size:
I'm choosing to make a size 4 skirt for a friends daughter using the online Childrens Clothing Sizing Guide from the Target Website. It gives me a waist measurement of 54cm.
The length is a little bit of a guesstimate, but I'm aiming for have a finished length of approximately 36cm.
Step 2. Calculate the Fabric Size:
The skirt is just one large rectangle of fabric.
Width: Finished Waist Size x 1.5 = 54 x 1.5 = 81cm
Length: Finished Length + 5 cm = 36 + 5 = 41cm
Step 3. Fabric
Cut the fabric rectangle and overlock all four sides (if you have an overlocker)
Step 4. Hem
On both of the two long sides of the rectangle, fold over a 1cm hem and iron and stitch into place.
Step 5 - Sew into a cylinder:
Fold your fabric in half with right sides together, so that the two short sides are lined up facing each other.
Measure and mark 3 cm from the top, then sew a 1cm seam all the way to the bottom
You should now have a large fabric cylinder.
Step 6 - Press Seams Open
Place the cylinder shape over your ironing board, and press the seam open.
You should have the 3cm gap at the top of your seam.
Step 7 - Create the casing for the elastic
At the 3cm mark, fold the fabric over and press into place.
Stitch into place along the same stitching line. You can now see the little gap in the inside seam where you can feed the elastic through at the end.
Check the width of your elastic, and then sew another row of stitching along the top edge of the skirt. This ensures that the elastic stays nice and neat and flat inside the casing.
Step 8 - The Elastic
To determine the length of the elastic - just add 4 cm to the waist measurement.
I've cut the elastic at 54 + 4 = 58cm
Attach a safety pin and feed it through the casing until you have both ends out.
Lay the elastic flat with a 2cm overlap and stitch together securely.
Once stitched, feed back into the casing, spreading it evenly around the elastic.
Stitch the gap closed.
Step 9 - Finishing the bottom.
I've chosen to add binding at the bottom of my skirt, but you can just fold and iron a 1cm seam, and stitch it into place, or even add a little ruffle.
That's it!
Super simple and easy peasy.
If you make one, I'd love it if you added it to my tutorials Flickr Group
Tuesday, November 8, 2011
Something out of the ordinary.
New Look 6720 in Echino Bonbon
I've been working on this little project in the background over the last few weeks now.
New Look 6720 in Umbrella Prints - Oasis - Wild Floating Grasses (beautiful fabric to work with)
A friend bought some beautiful fabrics from Earthgirl Fabrics and asked me to transform them into some little dresses for her daughters, and skirts for herself.
New Look 6720 in Melly and Me - Where The Wind Blows
I love how these little dresses turned out, especially the Size 4. Completely adorable!
As for the pattern - I think the way that the facing is attached to the bottom of the bodice is a little clumsy, and not easy to sew. There was a lot of unpicking and re-sewing to make it nice and neat.
Nicole M Design A-Line Skirt in Melly and Me - Where The Wind Blows - Blossom
After making my first a-line in thick denim, this one was an absolute joy to sew. It drapes beautifully in this quilting weight fabric.
This one is most definitely on my to do list to make for me.
Burda 8090 in Vintage Groove Polka Dot
Finally, I finished off with this Burda A-Line skirt. I've made this once before... a very long time ago.
The retro style of the fabric is perfect with the design of the skirt..... and Frances was very happy to finally be modelling skirts that fit!
PS - I've made myself a new header in illustrator. I'm still a newbie so don't be too harsh... but check it out!
Filed as:
a-line skirt,
burda 8090,
dresses,
new look 6720,
nicole m design,
skirts
Friday, September 16, 2011
I once was a Housecoat
I once was a lonely Housecoat - unshapely and unloved.....but then I was rescued and given as a birthday gift.
Now I have a new lease on life.......with pockets (and after a few adjustments due to some undie flashing gaping moments)
I'm now perfectly suitable to be worn in public - phew!
Friday, September 9, 2011
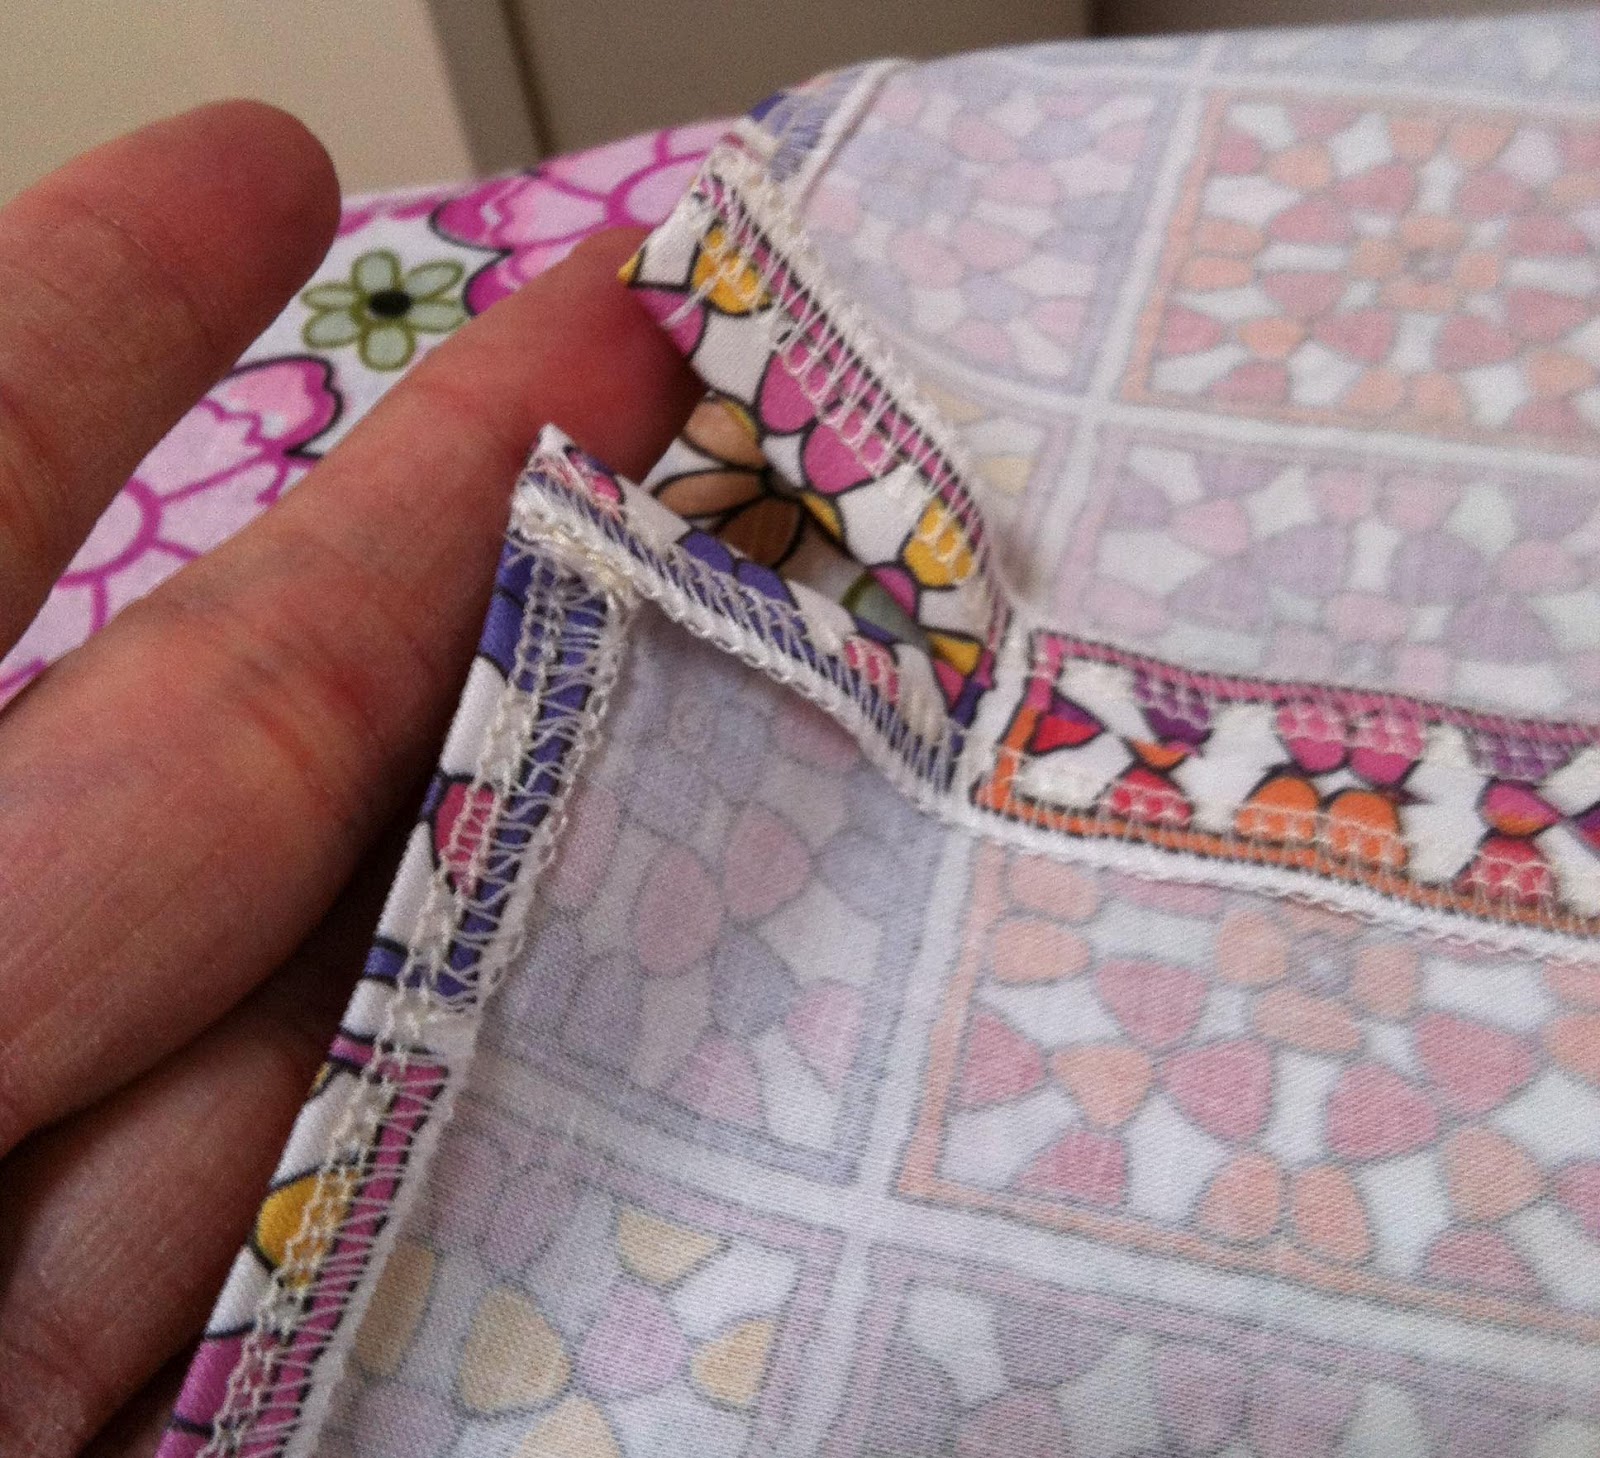
Be Still My Beating Cheating Heart Skirt
Panel is off centre on purpose (just in case you were wondering)
I know I promised some behind the scenes printing photos today, but I just can't resist showing you the skirt that I whipped up yesterday!
It's a total Cheaty McCheaterson skirt which was really easy to make.
Of course, I must preface this by warning you that I assumed that this would be less time consuming than making a skirt from scratch. Ha! I was completely wrong.
Also, if you really really don't like unpicking, then this is most definitely NOT the project for you.
I'm kicking myself that I didn't take a before photo, but this was originally a plain corduroy skirt that I bought from the oppy well over a year ago. It was on the $1 rack as it was missing a button at the back, and at that stage it wasn't my size, but I bought it just for the fabric.
Fast forward a year and add a few kilos and voila - it fits!
It was soooo plain, and it had no pockets, so it was never ever going to be worn.... until now.
I unpicked the bottom hem, side seams and the facing, and separated the back and front halves. I then cut a section out of the front half and inserted a lovely panel of my Go Granny fabric.
I then added the pocket pieces to the both halves of the skirt and sewed all the pieces back together again.
I even worked out how to top-stitch the pockets this time so that they sit nicely (happy dance).
I'm just wishing that I could wear it today... but it's not really appropriate for the gym. Maybe tomorrow!
Filed as:
go granny fabric,
granny square design,
granny square fabric,
skirts
Wednesday, June 29, 2011
Making Lists
There are lots of things happening at the moment. Maybe too many? But, I'm writing everything down and ticking them off day by day. I don't seem to be able to remember things like I used to.......
Have I promised you something? Are you waiting on a custom order? I'm sorry but I've probably forgotten (except for you Susie - yours is next on the list). But seriously, please send me an email if I have.
The rest of this week is filled with hospital with hospital / medical appointments, but then of course, I have an exciting Friday night planned at the Hottie Exhibition Opening.
The week after is now full too..... I promised my two eldest nephews that I'd take them on a skate park tour on the first day of the holidays (which means that I taxi them around suburbia to check out skate parks, and they ride around on their scooters to test them out). We'll probably have a lovely lunch at Maccas too no doubt!
Then Tuesday I'll pack my bags and head into hospital for three whole days of pre-transplant testing. I'm still waiting for the timetable to be sent out to work out exactly what I have to get done..... hopefully nothing too icky!
** Corduroy skirt - part of a pressie for a 3 year old birthday party that Moo went to on the weekend...
Thursday, June 2, 2011
My Creative Space
I've been wanting to make myself an a-line skirt since January, but of course, everything else kept getting in the way, and I just never got around to it!
I finally had some spare time on Monday, and so I made a start...
It's based on the a-line skirt from Sew What Skirts and I've used the gorgeous doiley fabric that Michelle gave me.
I wasn't happy with the facing the last time I made this skirt, so I've just used my own method (including some nice interfacing) this time (not sure if it'll work as I'm planning but we'll wait and see at the end).
I'm also going to add some pockets into the side seams before I put it together.
The back is a plain black denim.... that's the centre zip poking out the top. I've glue basted it from the back (not sure if that's acceptable for most but it works for me).
I'm yet to actually sew it into place.
Here's hoping I may actually finish it today or tomorrow!
The home of my creative space
Filed as:
a-line skirt,
my creative space,
sew what skirts,
skirts
Tuesday, May 17, 2011
Skirting Around
I have a birthday party to go along to this coming weekend, and it's fancy dress (for the kiddies thankfully - not for me)!
I bought the birthday girl some gorgeous red stockings from My Poppet last month, so I just wanted to make a little skirt that she could wear with them.
With exactly zero size 6 models on hand and available, I winged it, and then put out a call for help on twitter regarding the length (I wanted it to be just sitting at the knee).
Kate came to the rescue, as fortunately she had two little size 6 models playing in the yard.
I've forgotten to take photos of the side seams, but I did a lovely flat felled (at least I think that's what it's called) seam with two lines of red top stitiching down either side.
I think it's super cute, so I hope the birthday girl does too!
Wednesday, March 2, 2011
The Owls Have It
Things have been so crazy busy around here that I completely missed a 2nd birthday a couple of weeks ago...
So I whipped up a super simple and super quick little skirt.
It's just two rectangles - the front one appliqued with a lovely row of owls, then overlocked and sewn together, hemmed, and elasticised.
The applique is a strip cut from my Owlie Oracle fabric.
It's hard to see in this photo, but I pressed and topstitched the side seams in pink thread, just for fun!
I'm off to deliver it today, with fingers crossed that it fits... here's hoping.
Filed as:
Birthdays,
digitally printed fabric,
Presents,
skirts
Sunday, January 30, 2011
Ruffled
The next couple of weeks are crazy busy with events, appointments, work, and social invitations, so I'm trying to get a head start on the crafty front.
A sweet little girl is having a birthday very soon, so I had an idea in my head to make a crazy ruffle skirt.
I don't get the opportunity to make girly things very often, so I have to make the most of every girly opportunity that arises!
Amelie is not a fan of pink (which meant that fifty percent of my stash was banished), so I decided on green, red and yellow... although there is a hint of pink in the stripes on the binding.
Hope she likes it!
Filed as:
birthday,
crazy ruffle skirt,
melbourne epicure,
Presents,
skirts
Subscribe to:
Posts (Atom)